Winter camping is a great way to enjoy winter activities and be able to stay where you play. In our previous articles, we discussed Winter Camping Activities, An Introduction to Winter Camping, Hot Tenting versus Cold Camping, and Front Country Winter Camping. This article will go over some key points regarding winter backcountry camping.
Safety precautions
Winter backcountry camping should only be attempted after you have gained some experience camping in the winter using safer methods such as the ones mentioned in the previous articles. Many issues can arise while winter camping, as it is much more challenging than camping in other seasons, therefore, it is best to start simple and learn your way up to camping in the backcountry in winter after you have gained experience and are completely comfortable with it. You may also want to look into booking a winter camping backcountry trip with an outfitter or taking a course, which is a great way to gain experience and confidence and learn how to do things the right way. Two very reputable outfitters I recommend are Lure of the North, or Algonquin Basecamp. Please check out their websites for more information.
If you are heading out on your first winter backcountry trip, it is best to plan something simple and go with someone who has experience. If possible, arrange to go to an area where you have cellular service in case issues arise or carry some type of satellite communicator. If you do not own one of these devices, check with your local outfitter as some will rent them out to you. It is also recommended to create a trip plan that can be left with someone, in case of emergency, providing as many details as possible.
Once you have decided on an area, checked to ensure all your gear is working properly, and have left your trip plan with someone, it is time to head out on the adventure. It is best to find a campsite which is close to running water so you have an easy water source. If this is not possible, you will need to melt snow which can be extremely time consuming, or bring your own water with you, which can be heavy. Some people also cut a hole in the ice on the lake in order to get water that way, however, this method is a bit advanced for this article.
Choosing the right method: Hot vs Cold Camping
The first thing you’ll need to decide is how you are going to winter camp in the backcountry. You can refer to my previous article Hot Tenting versus Cold Camping for more information on the different options, however, if you are not aware or experienced in any of those methods, it is best to test some of them out before proceeding into the backcountry.

Finding a place to go winter backcountry camping can be a big challenge, in itself. Ontario Parks has backcountry winter camping available at a few of their parks and the list can be found here. In Ontario Parks, during the winter months, you are not allowed to camp on a designated summer campsite. It is also not permitted to camp within 30 metres of a lake shoreline, trail or portage that is marked on the canoe routes map, or backpacking trails map. This might sound like an easy thing to achieve, but it is not as simple as it sounds if you are bringing your gear in by a pulk, as many trails are hilly and have obstacles that might prevent you from getting through the trail.
In addition to camping in Ontario Parks, many people camp on crown land. Information on crown land camping can be found here.
Getting to the campsite
If you are cold camping in some way, you can carry your gear into your backcountry campsite by using a backpack, or pulling your gear on a pulk, sled or toboggan. A pulk, sled or toboggan are all basically the same thing, a slippery piece of plastic or polyethelyne without runners which you fasten your gear to and pull into your campsite with a harness or rope attached to it. For this article, I will just use the term pulk to keep things simple. Unless you have an extremely compact light weight stove, most hot tenting backcountry trips are done using a pulk and this can make getting into the backcountry a bit more challenging than just carrying your gear in by using a backpack.

Depending on the amount of snow, you may also need to wear snowshoes or ice cleats on the trails to help give you traction in the snow and ice and make carrying yourself and your gear into your campsite a bit easier.
Wherever you decide to go, make sure you have plenty of time to get there, as everything in winter takes longer to do, and you want to ensure, above else, you are safe in what you’re doing and where you are going. Before I head out on a winter backcountry trip, I usually scout the area and the trails I will use in advance to ensure the distance is something I am able to cover and the area is somewhere I know will meet all the necessary requirements. There is a huge difference between hiking one kilometer and snowshoeing one kilometer and simply being aware of your limitations in winter conditions can help a great deal.
Setup and enjoy the experience
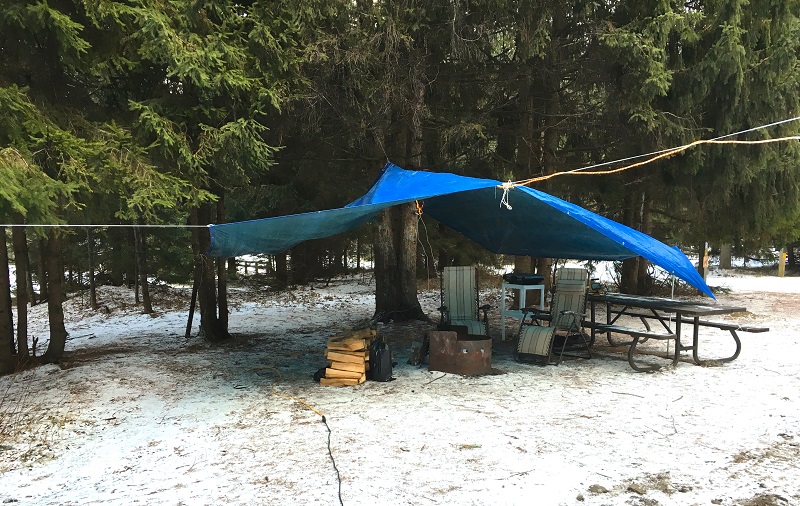
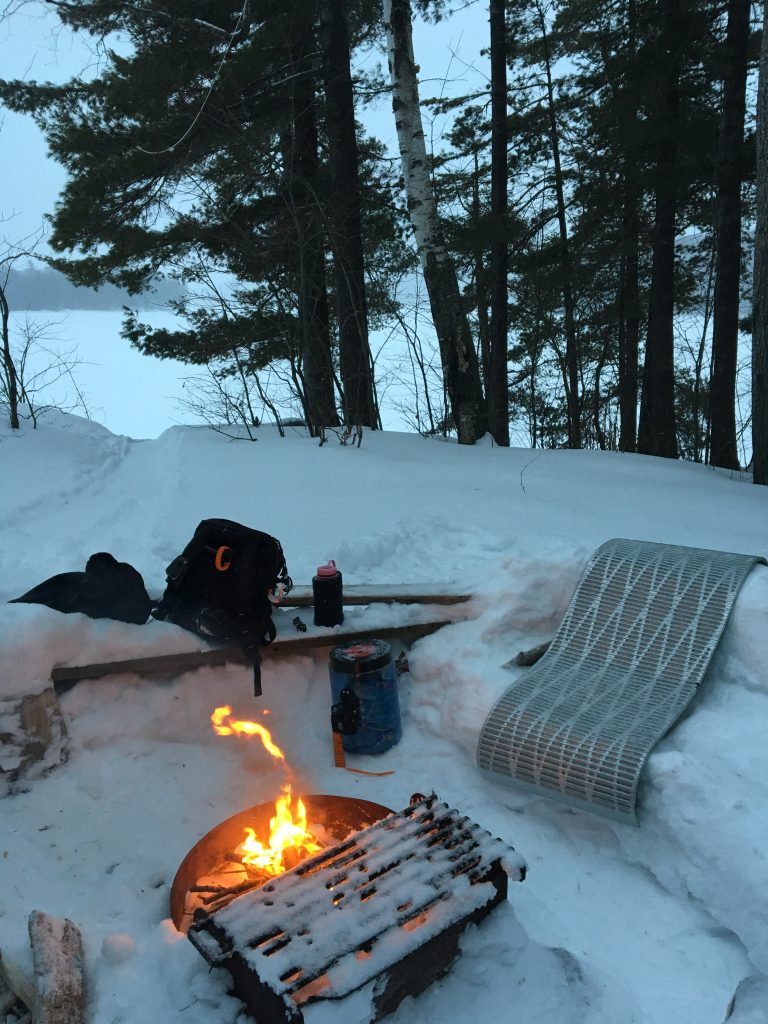
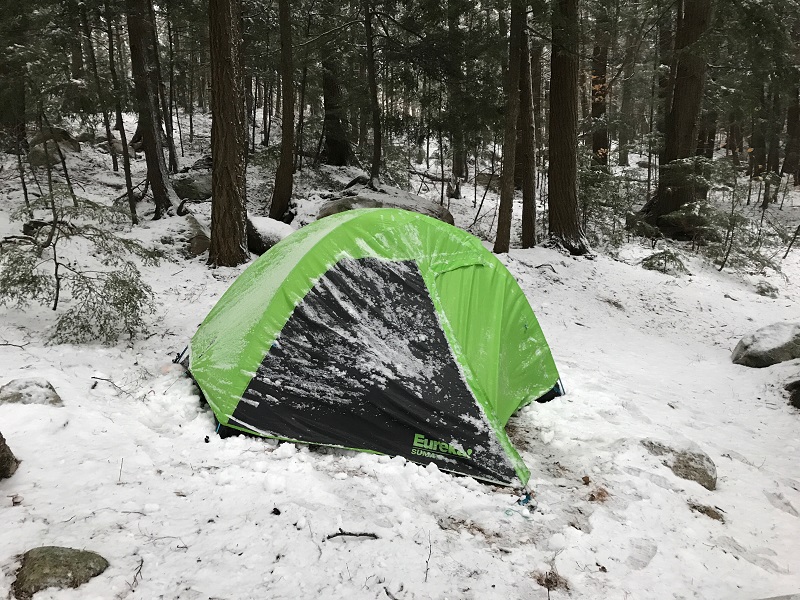
It is a good idea to set up your campsite in a sheltered area, but make sure there are no dead tree branches above that can fall and harm you in the process. Once your camp is set up, it is time to enjoy nature, do some exploring and partake in some winter activities. There is an incredible stillness being out in the backcountry in winter and the silence can be almost deafening, but in a good way. I, personally, have never experienced anything else like it and I hope you are able to enjoy this activity sometime soon.
By Camper Christina
Christina is an avid paddler of both canoes and kayaks, a year-round backcountry camper and car camper, and an outdoors enthusiast, who has been going on mostly solo trips since 2015.. read more